Scenario #1: Pretend your client would like to calculate inventory for the current quarter and month. For instance, if the current month is August, the quarter total includes values for July and August.
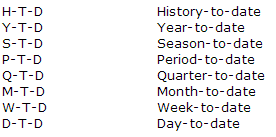
How is this calculated in Essbase? Essbase allows users to calculate period to date values dynamically, using dynamic time series. This is not a member stored in the outline, however it is a member that in enabled and associated with a generation. Typically, common time series members include YTD, QTD and MTD. Others include DTD, HTD, PTD, STD, WTD.
Scenario #2: You need to calculate quarter to date values for your client.
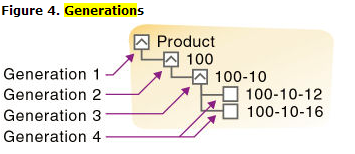
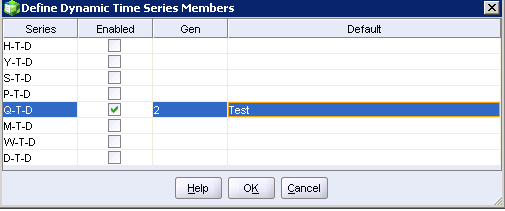
Enable the quarter to date member, or QTD, and associate it with its corresponding generation. This is where you will apply the “dynamic time series member.” According to the Oracle Tech Reference, a generation “refers to a consolidation level within a dimension. A root branch of the tree is generation 1. Generation numbers increase as you count from the root toward the leaf member…All siblings of each level belong to the same generation…”
You must have a dimension that is tagged as “time” in order to use a dynamic time series member. Only one dimension can be tagged as “time.” Essbase will now create a dynamic time series member called QTD and it will be associated with generation 2. This member will calculate values up to the current month in the quarter.
Instructions
1. View your outline
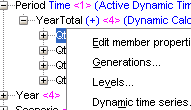
2. Right click on the member of your choice and click dynamic time series. In this case, I chose Qtr1 from my Period dimension.
As you can see, my dimension is tagged as time. As aforementioned, you can only apply dynamic time series to dimensions tagged as time.
3. Next, enable, assign a generation and alias name and click OK.
You have now successfully created a dynamic time series member.
[elementor-template id=”5244″]
Retrieving a Dynamic Time Series Member in SmartView
1. Open up Smartview, connect to your application and create an ad-hoc grid
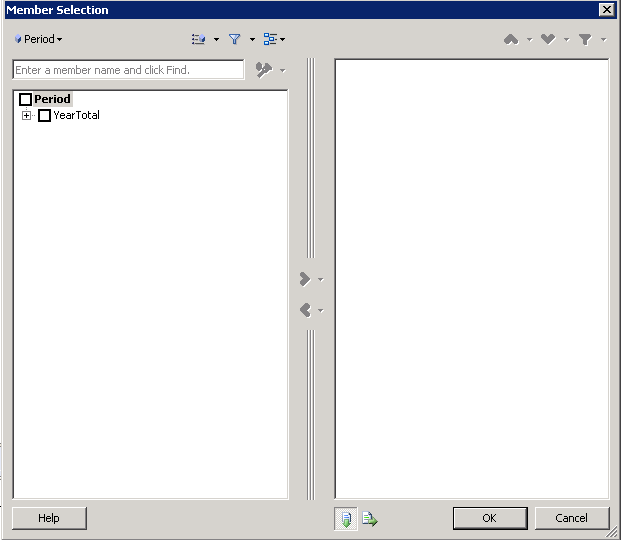
2. Click on your dimension and select “Member Selection.” You should now see a “Member Selection” window that looks similar to this:
3. Click on the outline icon on the left and select “Dynamic Time Series.” You should now see the dynamic time series member you assigned in your outline previously. For now, I am just working with one member.
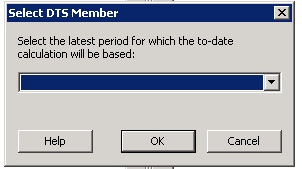
4. Before you select your member and move it to the right, you will receive the following message:
5. Select your time period and click OK. Click OK again once you see the member on the right. You should now see your dynamic time series member in your ad-hoc grid.
