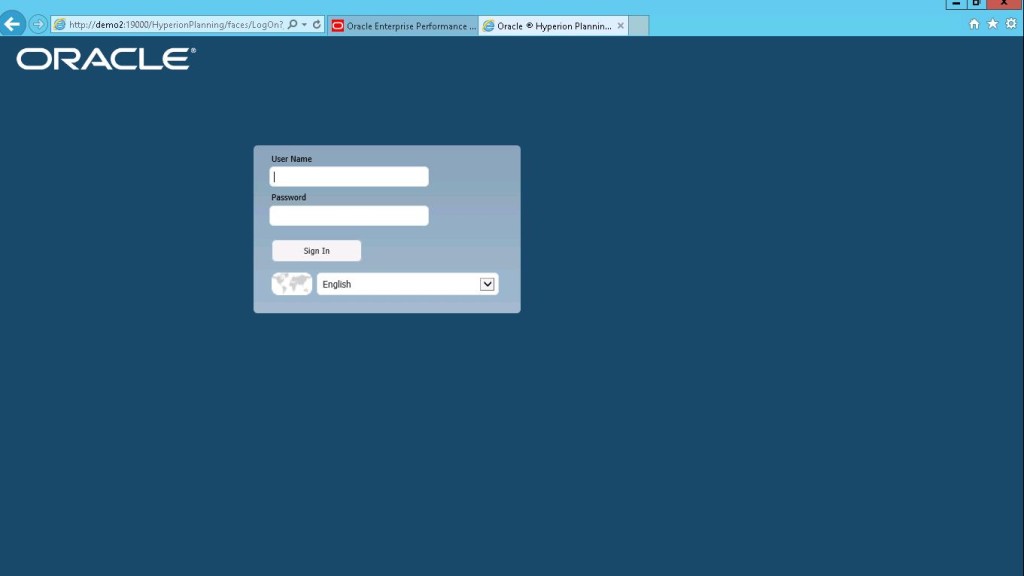
Hyperion Planning’s new Simplified Interface was created to make the planning process easier and faster. The intent was to create a streamlined interface for administrators to quickly work through their everyday planning tasks. As seen below, the log in screen has a new, clean look.
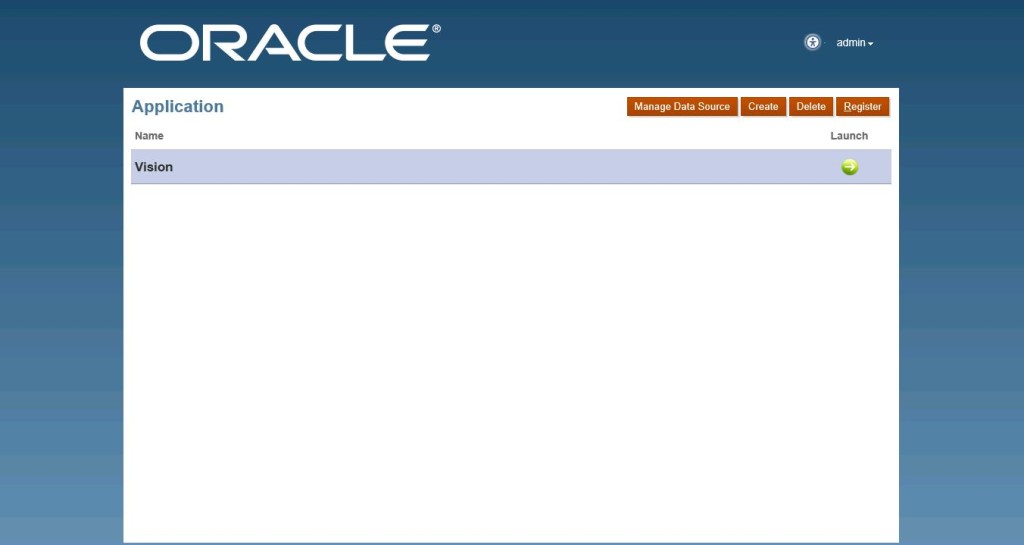
Once you have logged in to the Simplified Interface, your available applications will be listed. To open a specific application, click on the ‘Launch’ arrow on the far right of the screen.
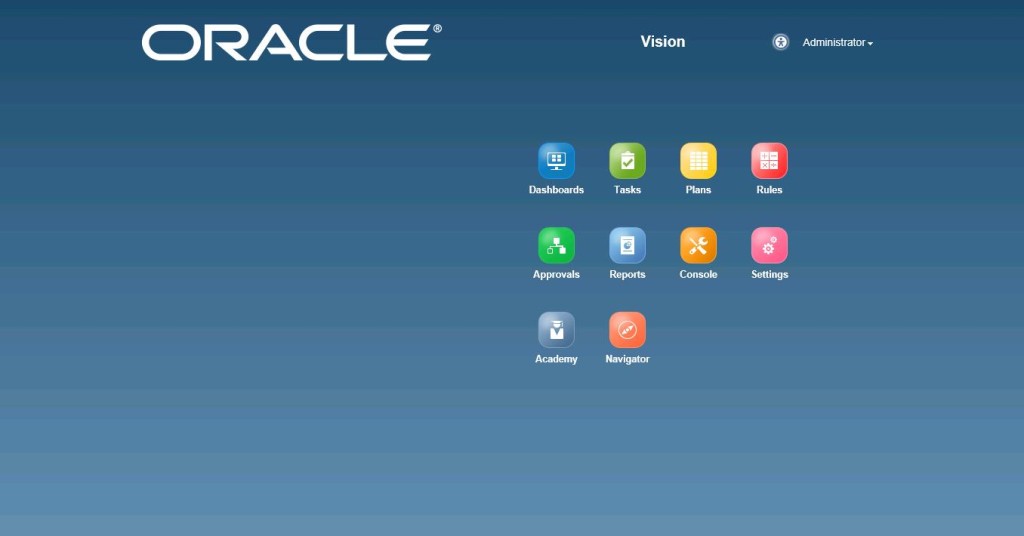
Now, the Vision application has opened and you have ten different icons that you can choose from.
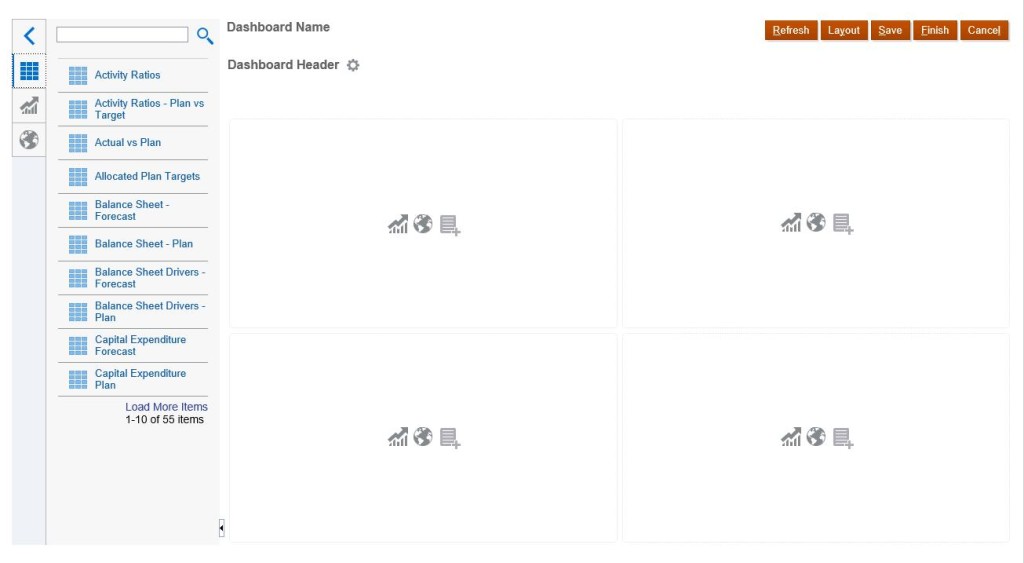
The ‘Dashboard’ icon is a customizable section of the Simplified Interface, similar to Custom Menus in the Classic Planning Interface. Each user can create their own unique dashboard. Once you select the ‘Dashboard’ icon, click create to add items to your custom dashboard.
The First items you can add to your dashboard are data forms. To add a data form, simply drag and drop the desired data form to one of the open slots.
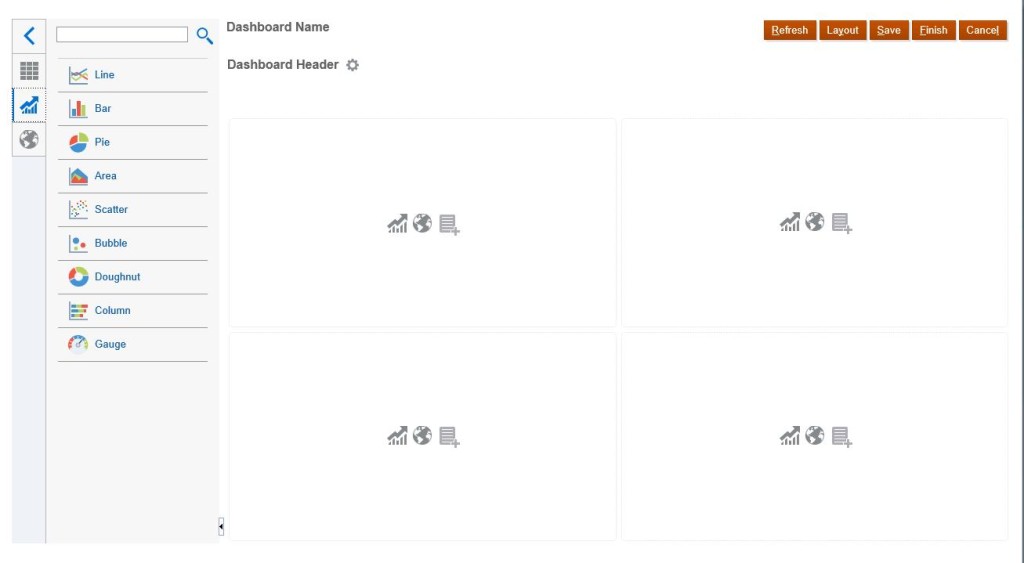
The next items you can add to your dashboard are charts. There are nine different types you can choose from, and like the forms, just drag and drop the chart to add it to the dashboard.
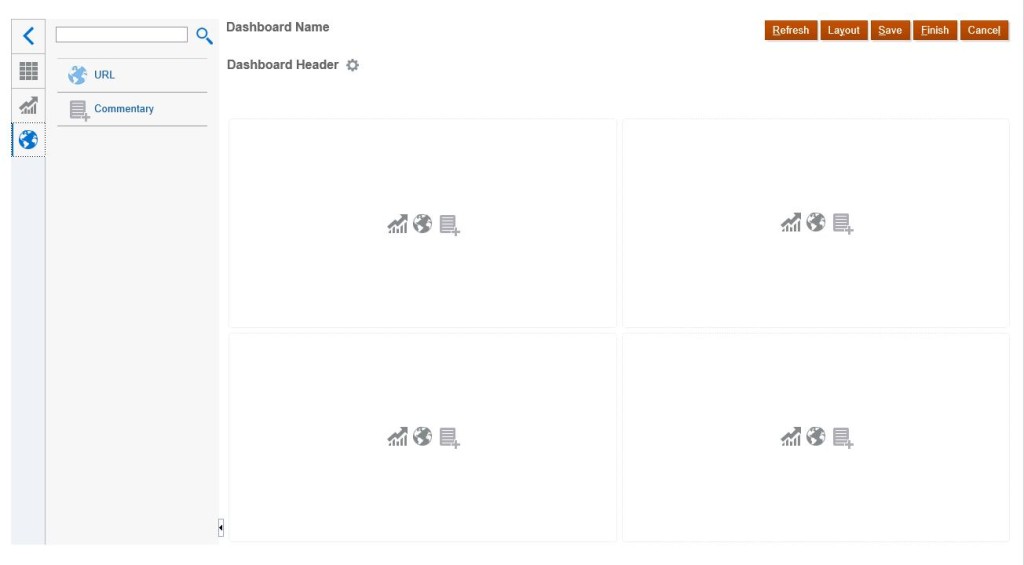
The last items you can add to the dashboard are URLs and Commentary. When you drag a URL to an open slot, you are asked to enter a URL. The same occurs when you drag the Commentary icon to an open slot.
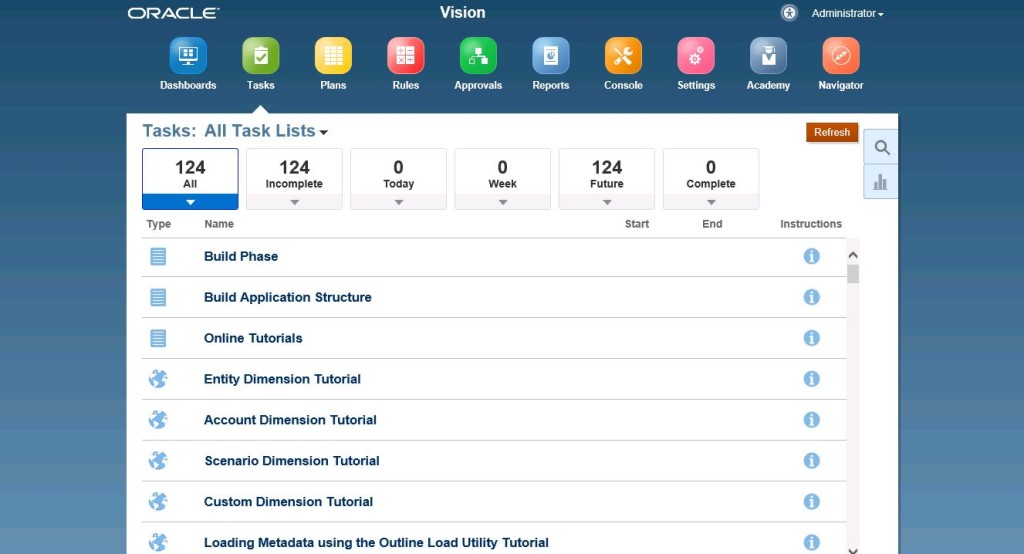
The ‘Tasks’ icon is where you will find all of your tasks lists. For easier navigation, the Simplified Interface also breaks down the task lists into different categories to assist the manager to know which task lists have been completed and which ones still need to be finished.
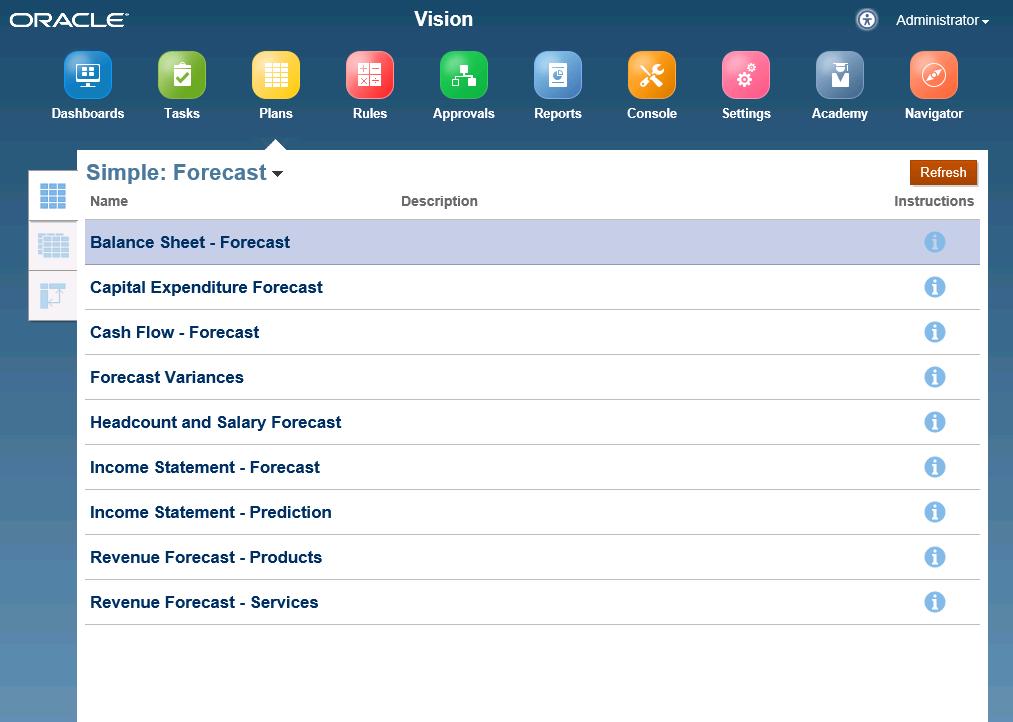
Under the ‘Plans’ icon is where you will find all of the Data Forms. There is a drop down arrow next to ‘Forecast’ that allows users to switch between their form folders. Also, on the left side of the screen, you can choose between Simple, Composite, and Ad Hoc forms.
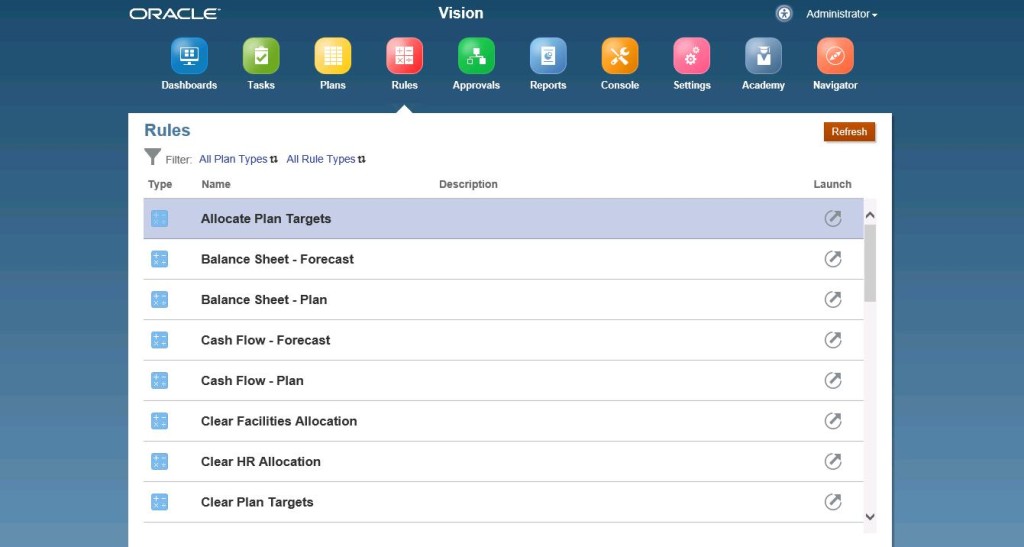
The ‘Rules’ icon is essentially the Calculation Manager within the Simplified Interface. This is where you can view and launch all of your business rules, calc scripts, and rule sets. You also have the ability to filter between plan types for all three rule types.
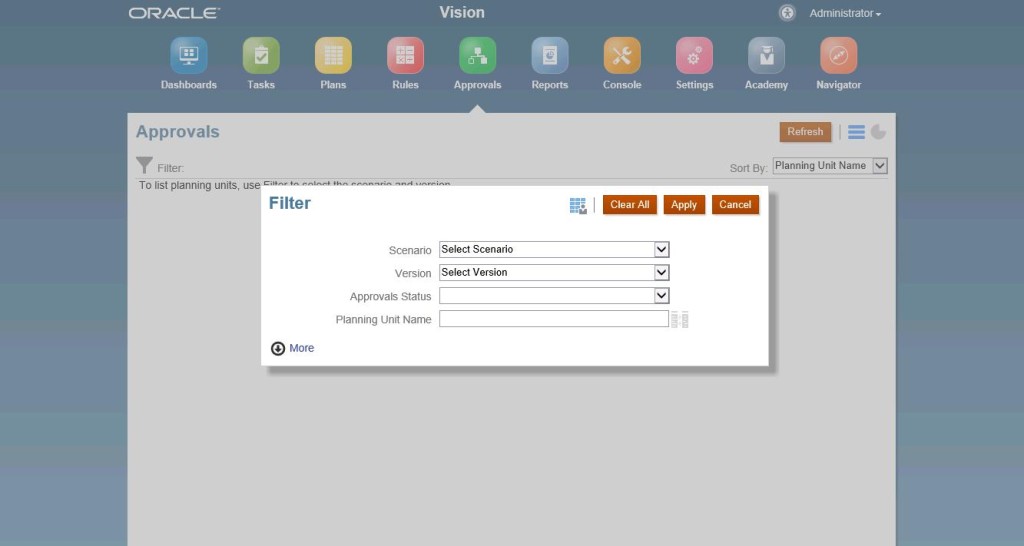
The ‘Approvals’ section of the Simplified Interface is where the managers and Planning Unit owners will go to approve the plan type data during the Planning process. You also have the ability to filter based on Scenario, Version, and Approval Status.
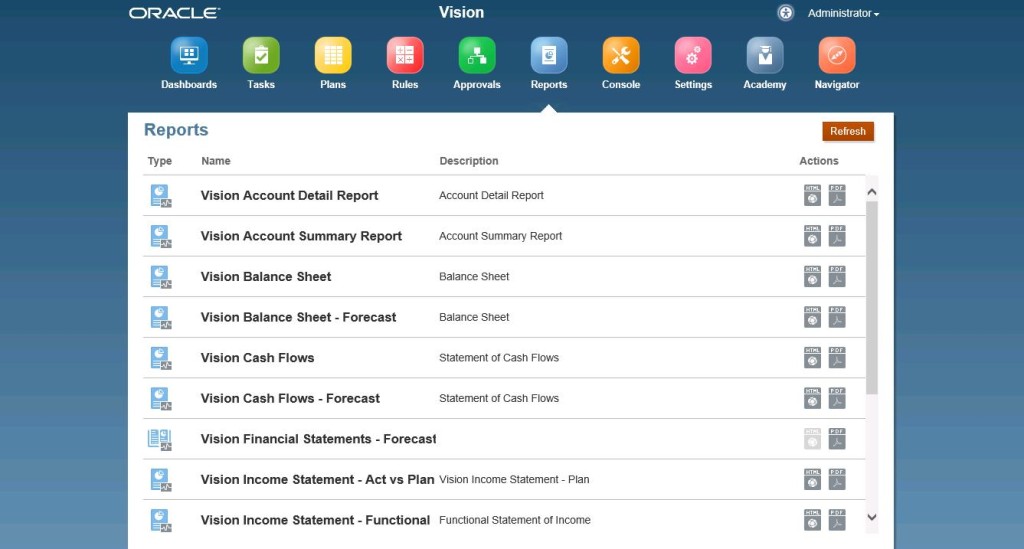
The ‘Report’ icon holds all of the Financial Reports. You have two options when launching the FR Reports: view in HTML or PDF.
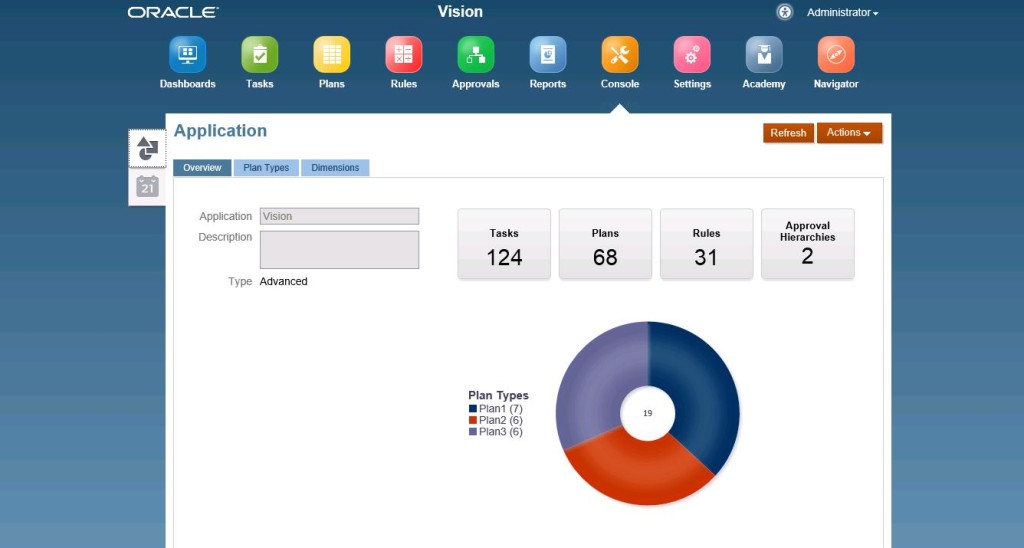
In the Simplified Interface, ‘Console’ provides a high-level outline of the application. You have the ‘Overview’ tab, which shows you the total number of Tasks, Plans, Rules, and Approval Hierarchies.
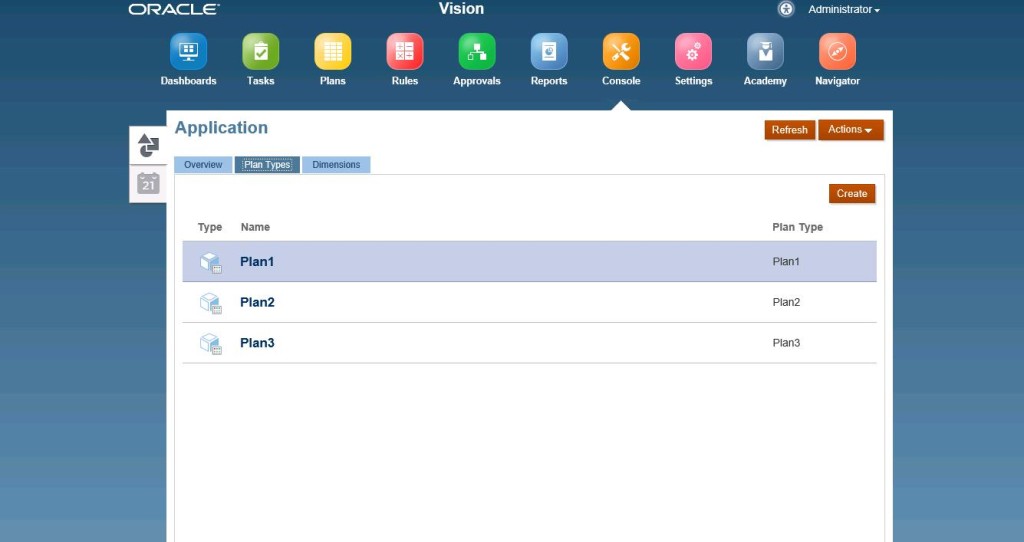
The next tab under ‘Console’ shows you the application’s Plan Types.
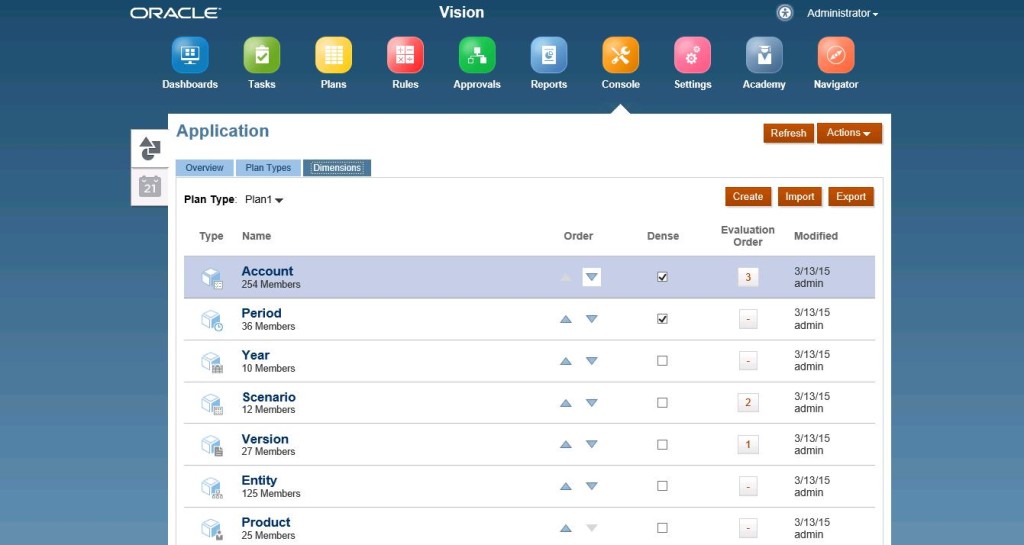
You can also view and manage your application’s dimensions under the Application section of ‘Console’.
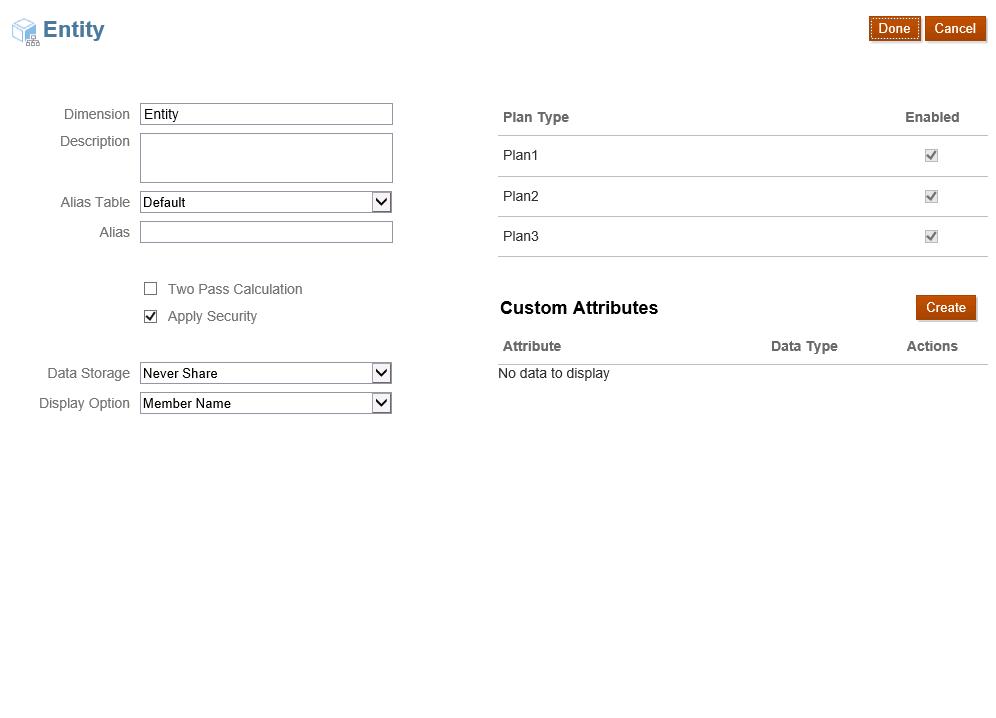
If you click on the dimension name, you are able to see all of the properties for that dimension. The ‘Entity’ dimension properties are shown below.
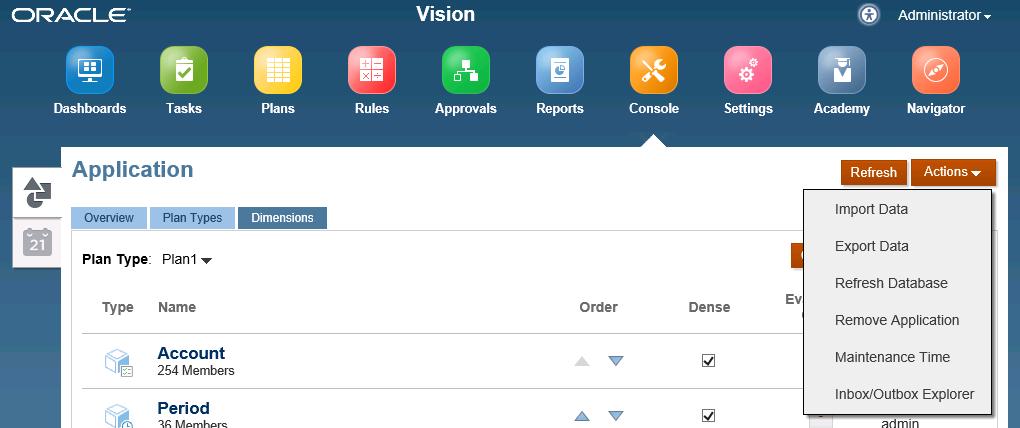
In the ‘Dimension’ tab under the ‘Console’ icon, you have a drop down list of Actions, which include: Import Data, Export Data, Refresh Database, Remove Application, Maintenance Time, and Inbox/Outbox Explorer.
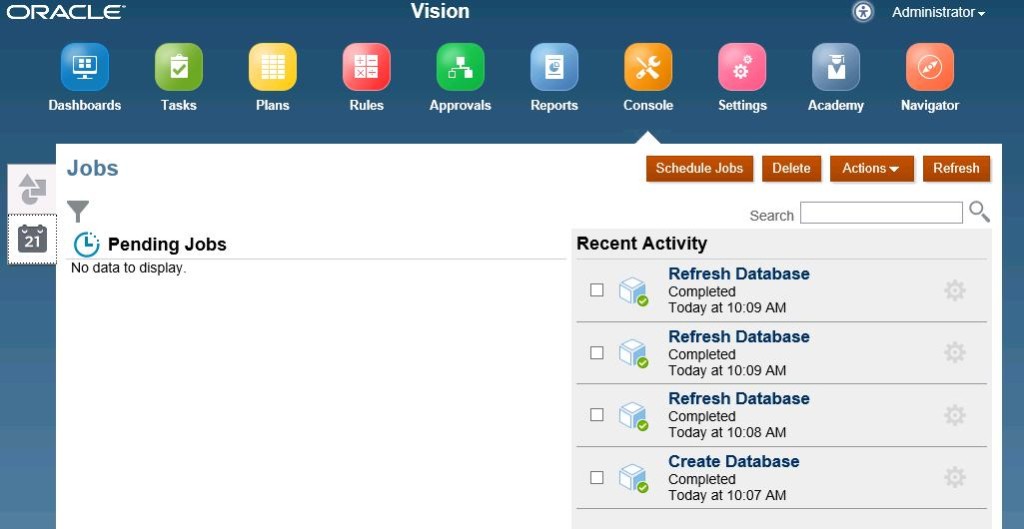
The Job Console also exists under the ‘Console’ icon. Here you can view any pending jobs and schedule jobs for now or a later time.
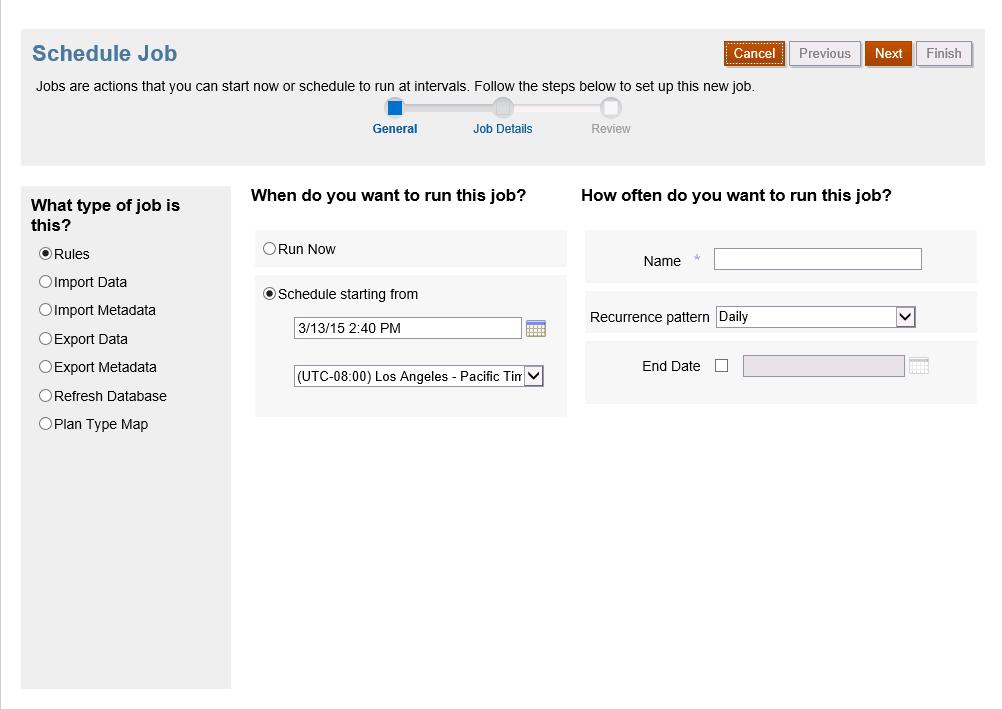
When scheduling a job, you must select what type of job it is, when you want to run the job, and how often the job will run.
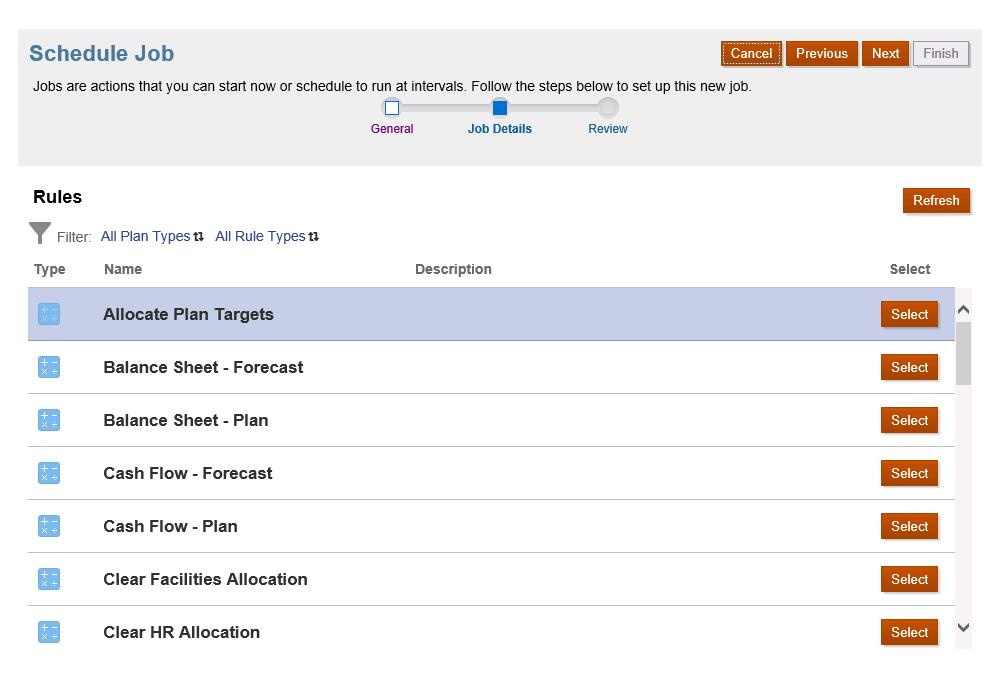
Next, you must select the Job Details. Since I chose ‘Rules’ for my Job Type, I have to select which rule I want to run.
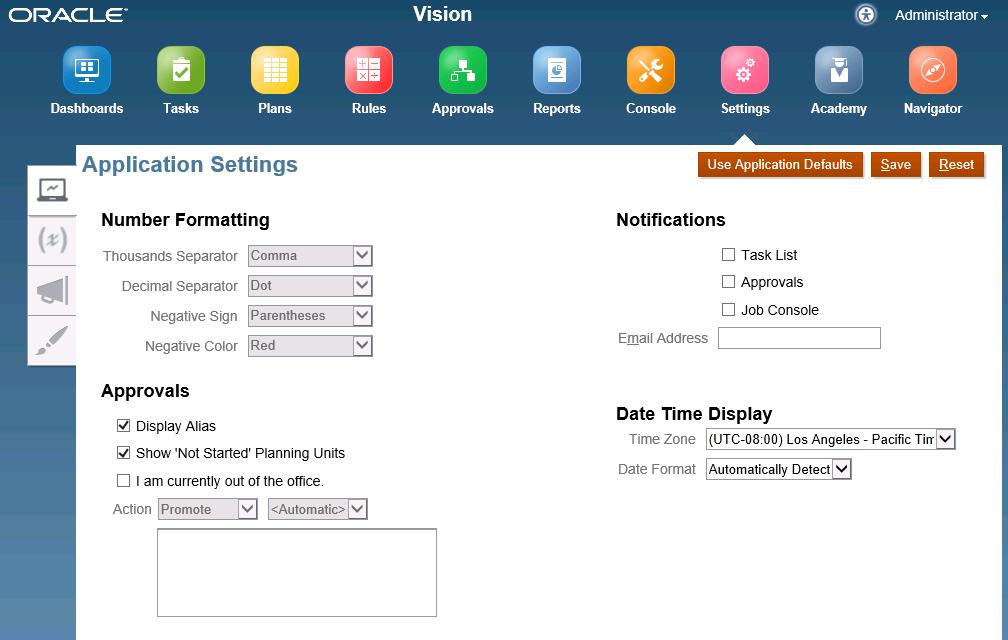
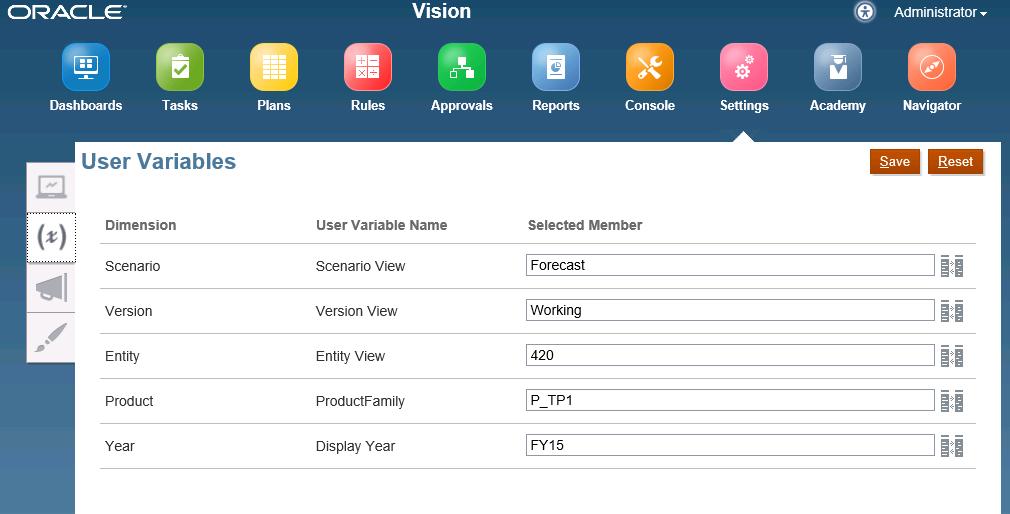
Under the ‘Settings’ icon, you will find all of your Application Settings, User Variables, Announcements, and Appearance. Under the Appearance tab, administrators can change the theme and logo that users see when logging into the Simplified Interface.
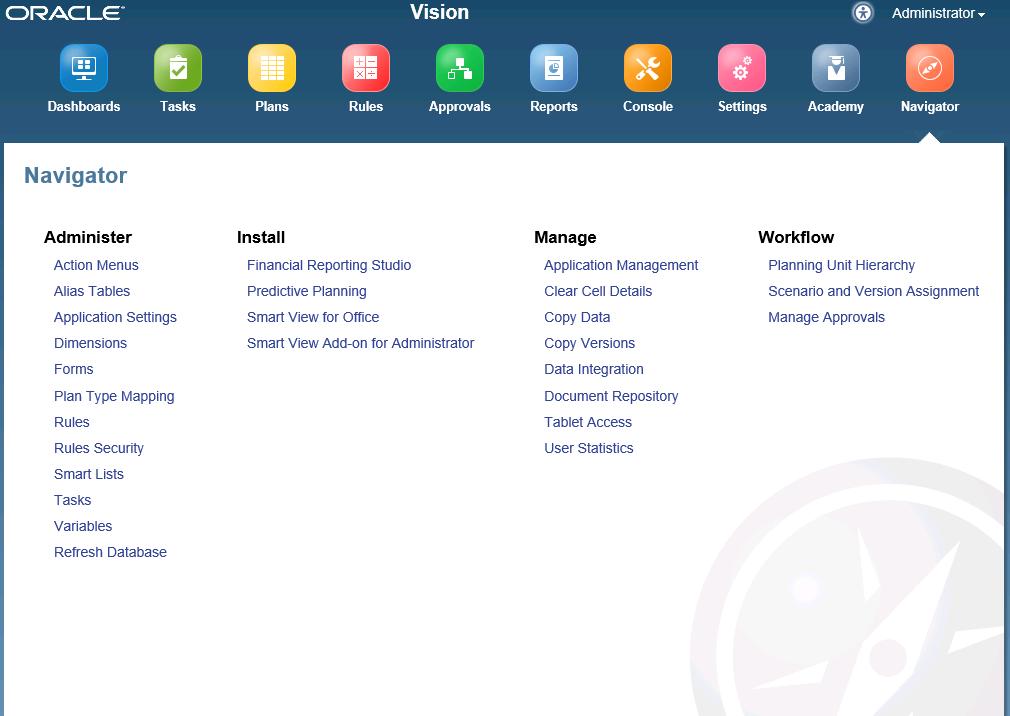
Finally, under the ‘Navigator’ icon, you have all of the features in the Simplified Interface broken into four categories: Administer, Install, Manage, and Workflow.